

How to Choose pH Calibration Buffers: pH 4.01, 7.00, and 10.01
A practical guide to calibration range, temperature, traceability, and routine quality control
Direct Answer
Choose pH calibration buffers that bracket the expected sample pH and follow the meter and electrode manufacturer's calibration procedure. A pH 7.00 buffer is commonly used as a central calibration point, while pH 4.01 and pH 10.01 buffers extend calibration into acidic and alkaline ranges. For reliable work, also verify the buffer's certified or specified value at the calibration temperature, lot documentation, expiry or use period, contamination controls, and acceptance criteria for slope and offset.
Why Buffer Choice Matters
A pH meter does not remain accurate simply because it displays two decimal places. The measurement depends on an electrode system whose response changes with condition, temperature, hydration, contamination, and age. Calibration compares that response with buffer solutions that have assigned pH values under stated conditions.
Calibration quality therefore depends on more than selecting familiar labels. The buffers must cover the intended measuring range, be suitable for the laboratory's accuracy requirement, and be used in a controlled way. A fresh, well-documented buffer cannot compensate for a damaged electrode, and a healthy electrode cannot compensate for contaminated or temperature-mismatched buffers.
Start with the Expected Sample Range
| Expected sample range | Typical calibration approach | Reason |
|---|---|---|
| Mostly acidic samples | pH 7.00 and pH 4.01 | The two points bracket much of the acidic working range |
| Near-neutral samples | pH 7.00 plus the buffer on the side most relevant to the samples | A second point checks electrode response near the intended range |
| Mostly alkaline samples | pH 7.00 and pH 10.01 | The two points bracket much of the alkaline working range |
| Wide or mixed range | pH 4.01, 7.00, and 10.01 where supported by the instrument and procedure | Multiple points characterize response across a broader range |
These are common approaches, not universal instructions. Some methods specify different buffer values, calibration sequences, verification checks, or tolerances. Follow the validated method and instrument instructions.
What Each Common Buffer Does
pH 7.00: The Central Calibration Point
A neutral buffer is commonly used first because it helps establish electrode offset near the zero-millivolt point of an ideal pH electrode. It is useful in two- and three-point calibrations and for many samples close to neutral. If the offset fails the laboratory's acceptance criterion, investigate the electrode, connectors, hydration, contamination, and buffer condition before continuing.
pH 4.01: The Acidic Calibration Point
This buffer is commonly paired with pH 7.00 for acidic samples. It helps the meter determine the electrode's response over the acidic side of the range. It should not be chosen merely because it is widely available; it should be relevant to the sample range and method.
pH 10.01: The Alkaline Calibration Point
This buffer is commonly paired with pH 7.00 for alkaline samples. Alkaline buffers can be more vulnerable to changes caused by environmental exposure, including carbon dioxide uptake, so good aliquoting and container discipline are especially important. Always use the stated value for the actual temperature.
Seven Selection Checks for QA/QC
- Assigned value and tolerance: confirm the pH value, reference temperature, and allowable variation in the current specification or certificate.
- Traceability statement: review what measurement result is traceable, the stated reference, and the supporting documentation. Traceability is not the same as a general product endorsement.
- Temperature information: use the value or correction table for the buffer temperature, not the nominal label value by default.
- Lot and expiry control: make sure the container, certificate, and laboratory record identify the same lot and that the solution is within its approved period of use.
- Package size: choose a volume that can be consumed without excessive opening, repeated pouring, or long storage after opening.
- Compatibility with the procedure: confirm that the buffer set and calibration points are supported by the meter, electrode, and method.
- Acceptance rules: define limits for slope, offset, repeatability, and verification based on the instrument instructions and laboratory procedure.
A Controlled Calibration Workflow
- Inspect the electrode, cable, connector, and electrolyte condition as applicable.
- Allow buffers, electrode, and samples to reach the controlled working temperature or use validated temperature compensation.
- Pour a small working aliquot into a clean container. Do not insert the electrode into the stock bottle unless the approved procedure allows it.
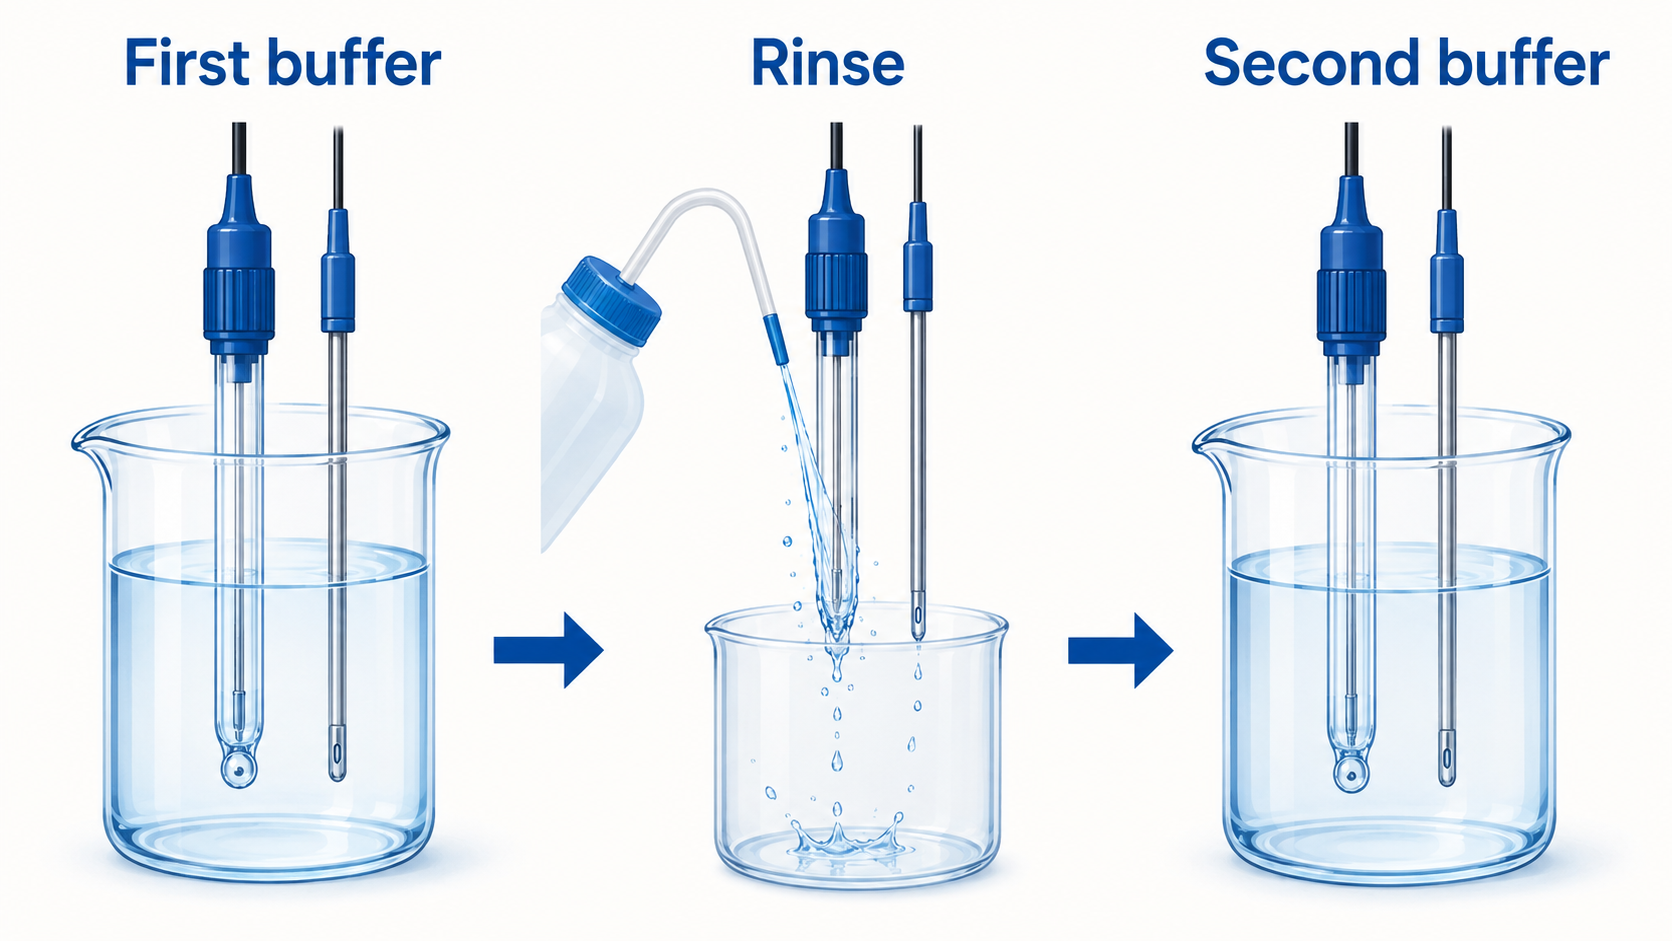
- Rinse the electrode as specified and remove excess rinse liquid without damaging the sensing surface.
- Calibrate in the sequence required by the meter or method, waiting for a stable reading at each point.
- Review slope and offset against approved criteria rather than accepting the calibration automatically.
- Verify with an appropriate check buffer when required.
- Discard used aliquots. Never return them to the original container.
- Record buffer product, lot, expiry, temperature, calibration result, and any corrective action.
RCI Labscan Buffer Options
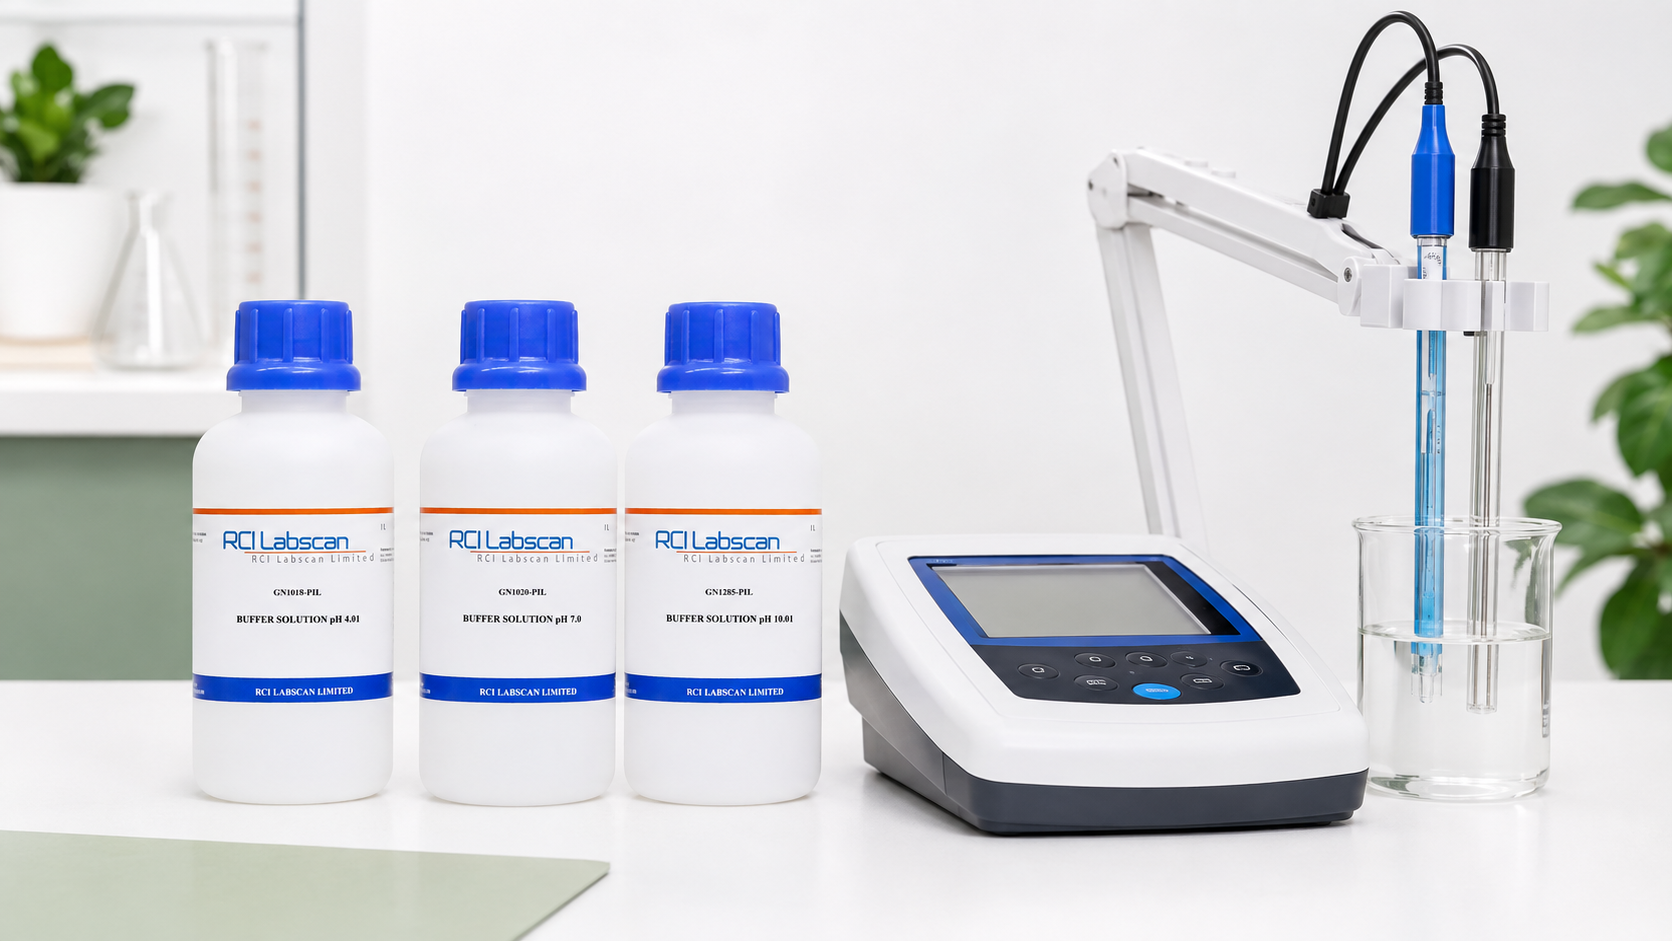
RCI Labscan lists Buffer Solution pH 4.01, Buffer Solution pH 7.0, and Buffer Solution pH 10.01 for general analytical applications. Before use, confirm the current specification, certificate or lot documentation, reference temperature, packaging, and suitability for the laboratory's procedure.
Common Errors to Avoid
- Using only pH 7.00 for samples far into the acidic or alkaline range
- Calibrating with buffers that are all on one side of the sample range
- Treating a nominal pH label as temperature-independent
- Returning a used aliquot to the stock container
- Leaving buffer containers open or using visibly contaminated solution
- Mixing lot numbers between the container and calibration record
- Ignoring an unacceptable slope or offset because the meter reports “calibration complete”
FAQ
Is a two-point calibration always enough?
It depends on the measuring range, accuracy requirement, instrument capability, and method. Two points are common for a defined acidic or alkaline range; a wider range may require three points or an additional verification.
Must pH 7.00 always be the first point?
Many instruments and procedures use the neutral buffer first, but the approved instrument or method sequence should control.
Can a buffer be used directly from the stock bottle?
A separate clean aliquot reduces contamination risk. Follow the product and laboratory instructions, and never return used buffer to the stock container.
Does “traceable to NIST” mean NIST approved the commercial buffer?
No. NIST explains that traceability is a property of a measurement result connected to a stated reference through a documented calibration chain. It does not mean that NIST endorses a product. Review the supplier's exact traceability documentation.
Conclusion
The best calibration set is the one that brackets the sample range and is supported by the method. Combine the correct pH 4.01, 7.00, and 10.01 choices with temperature control, lot traceability, clean aliquoting, and meaningful slope and offset criteria. That turns routine calibration into defensible measurement control.
Leave a comment!